

Spatchcocking a whole chicken sounds like something fancy that’s better left to the expert chefs, but trust me, this technique is so easy! Once I learned how to spatchcock a chicken myself, my special occasion dinners became a breeze. With simple prep, faster cooking, juicy meat, and beautifully crispy skin, this oven-roasted spatchcock chicken recipe with potatoes, garlic, and herbs is my secret to an impressive but stress-free dinner.
Top Reader Reviews
![]()
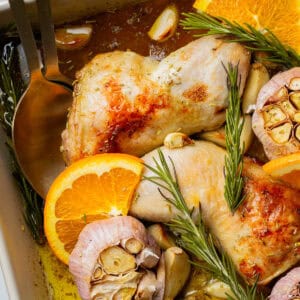
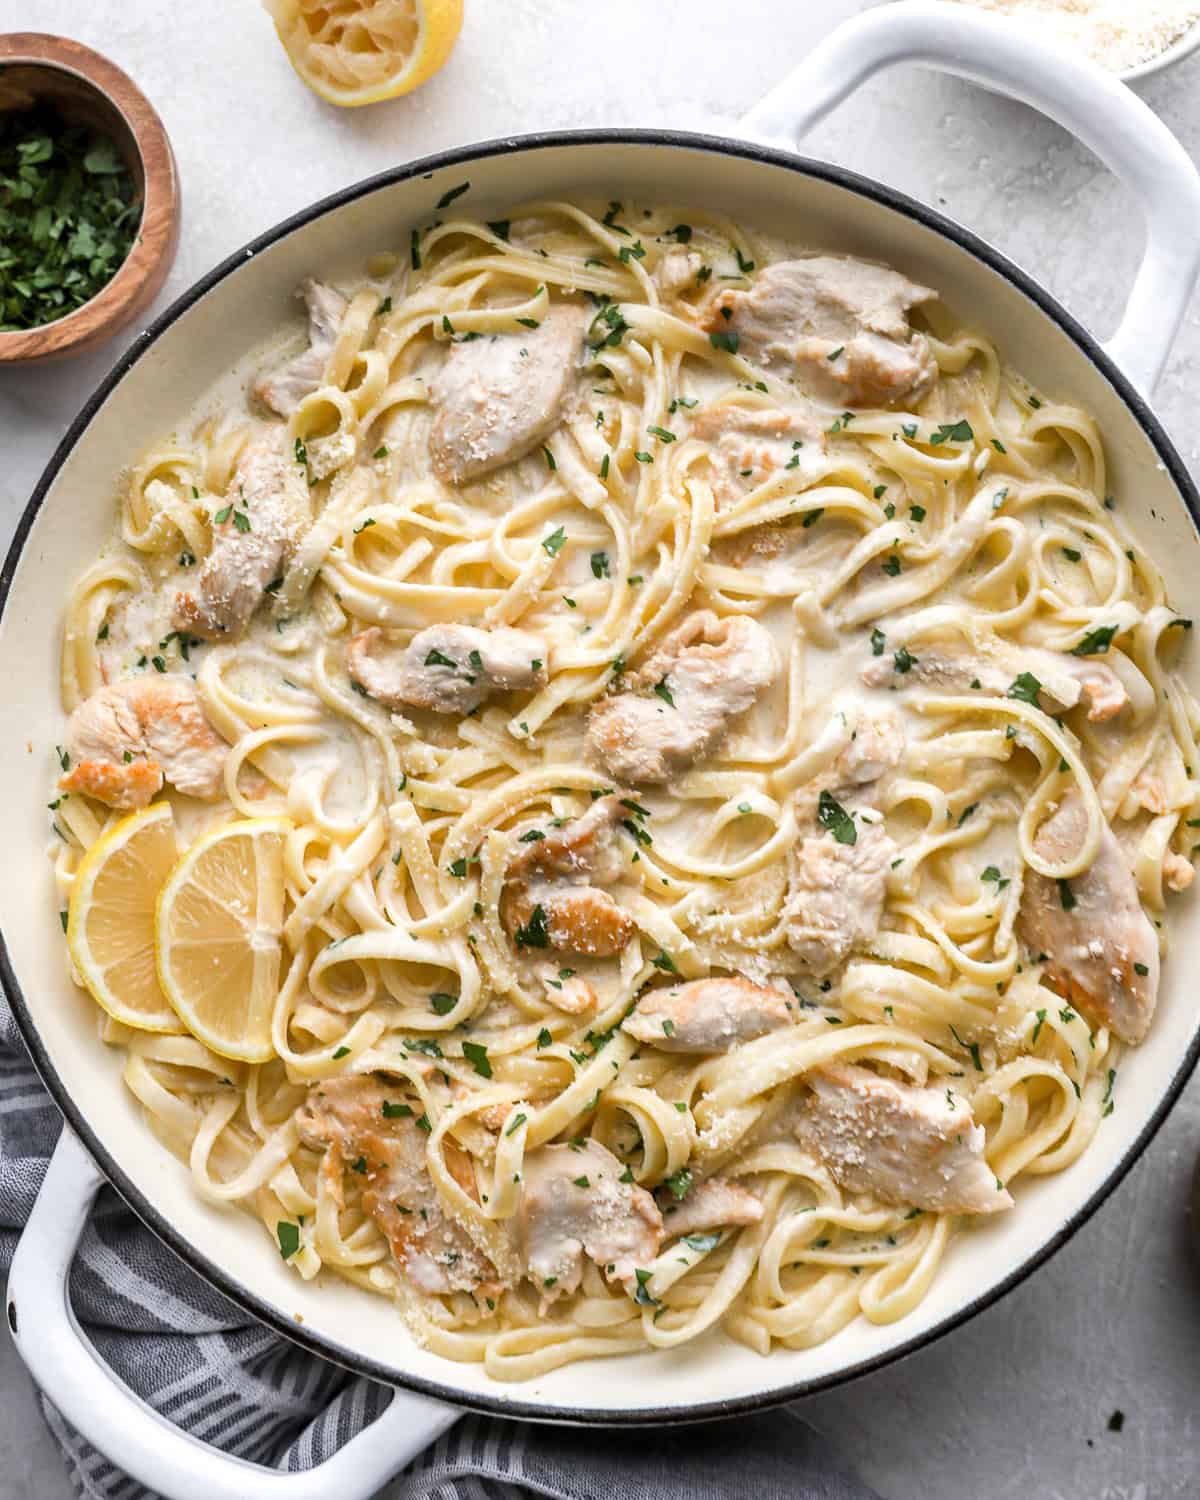
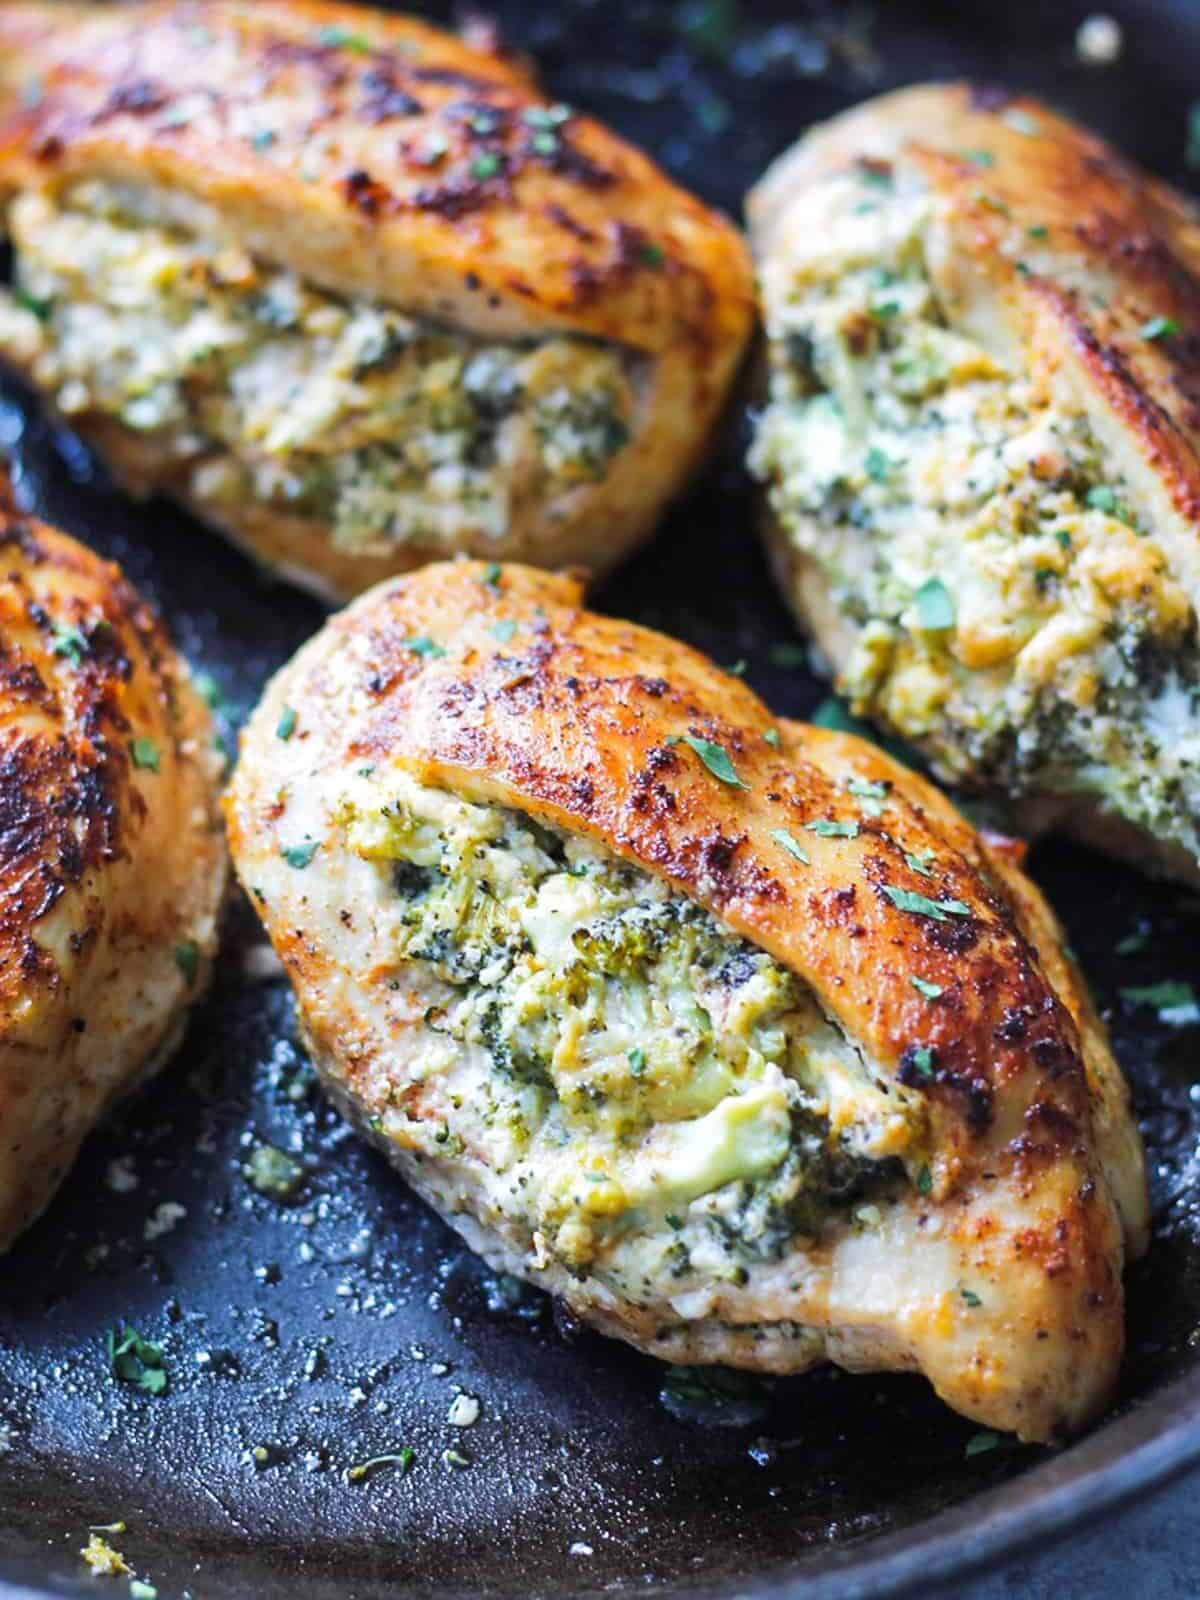
It is so easy to make and looks amazing as a presentation and tastes sooo good. This is the second time I have made this and it has not disappointed.
–
![]()
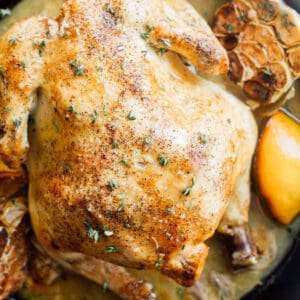
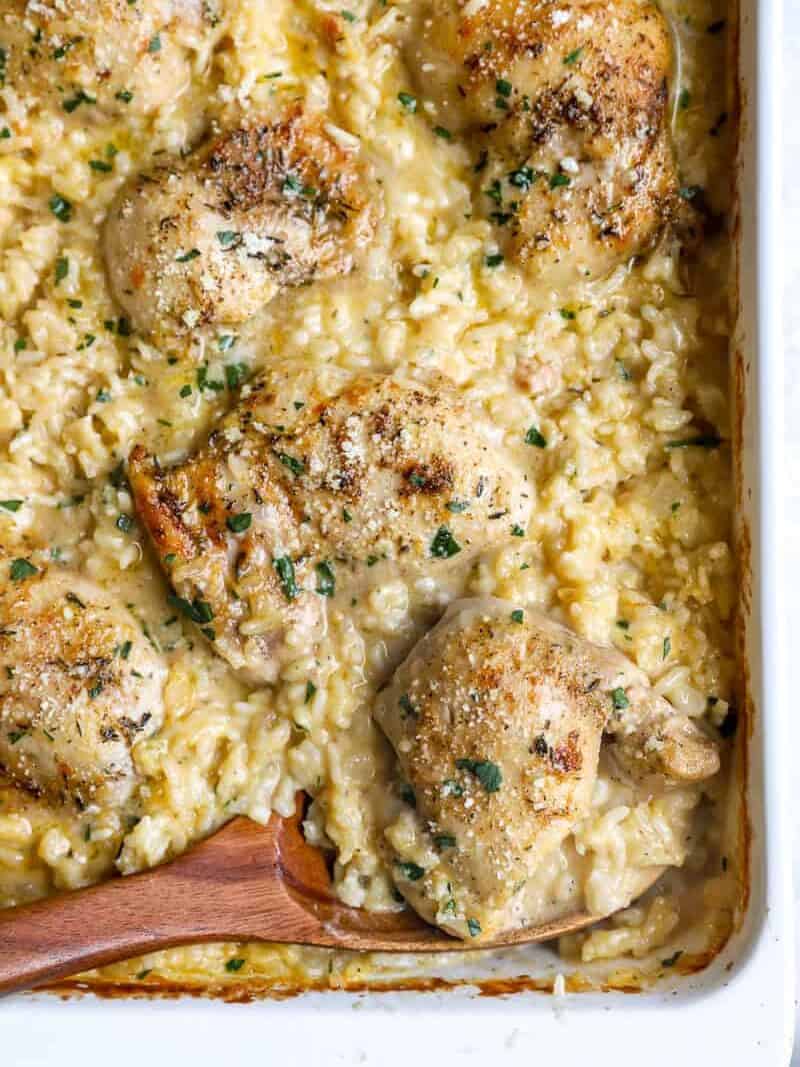
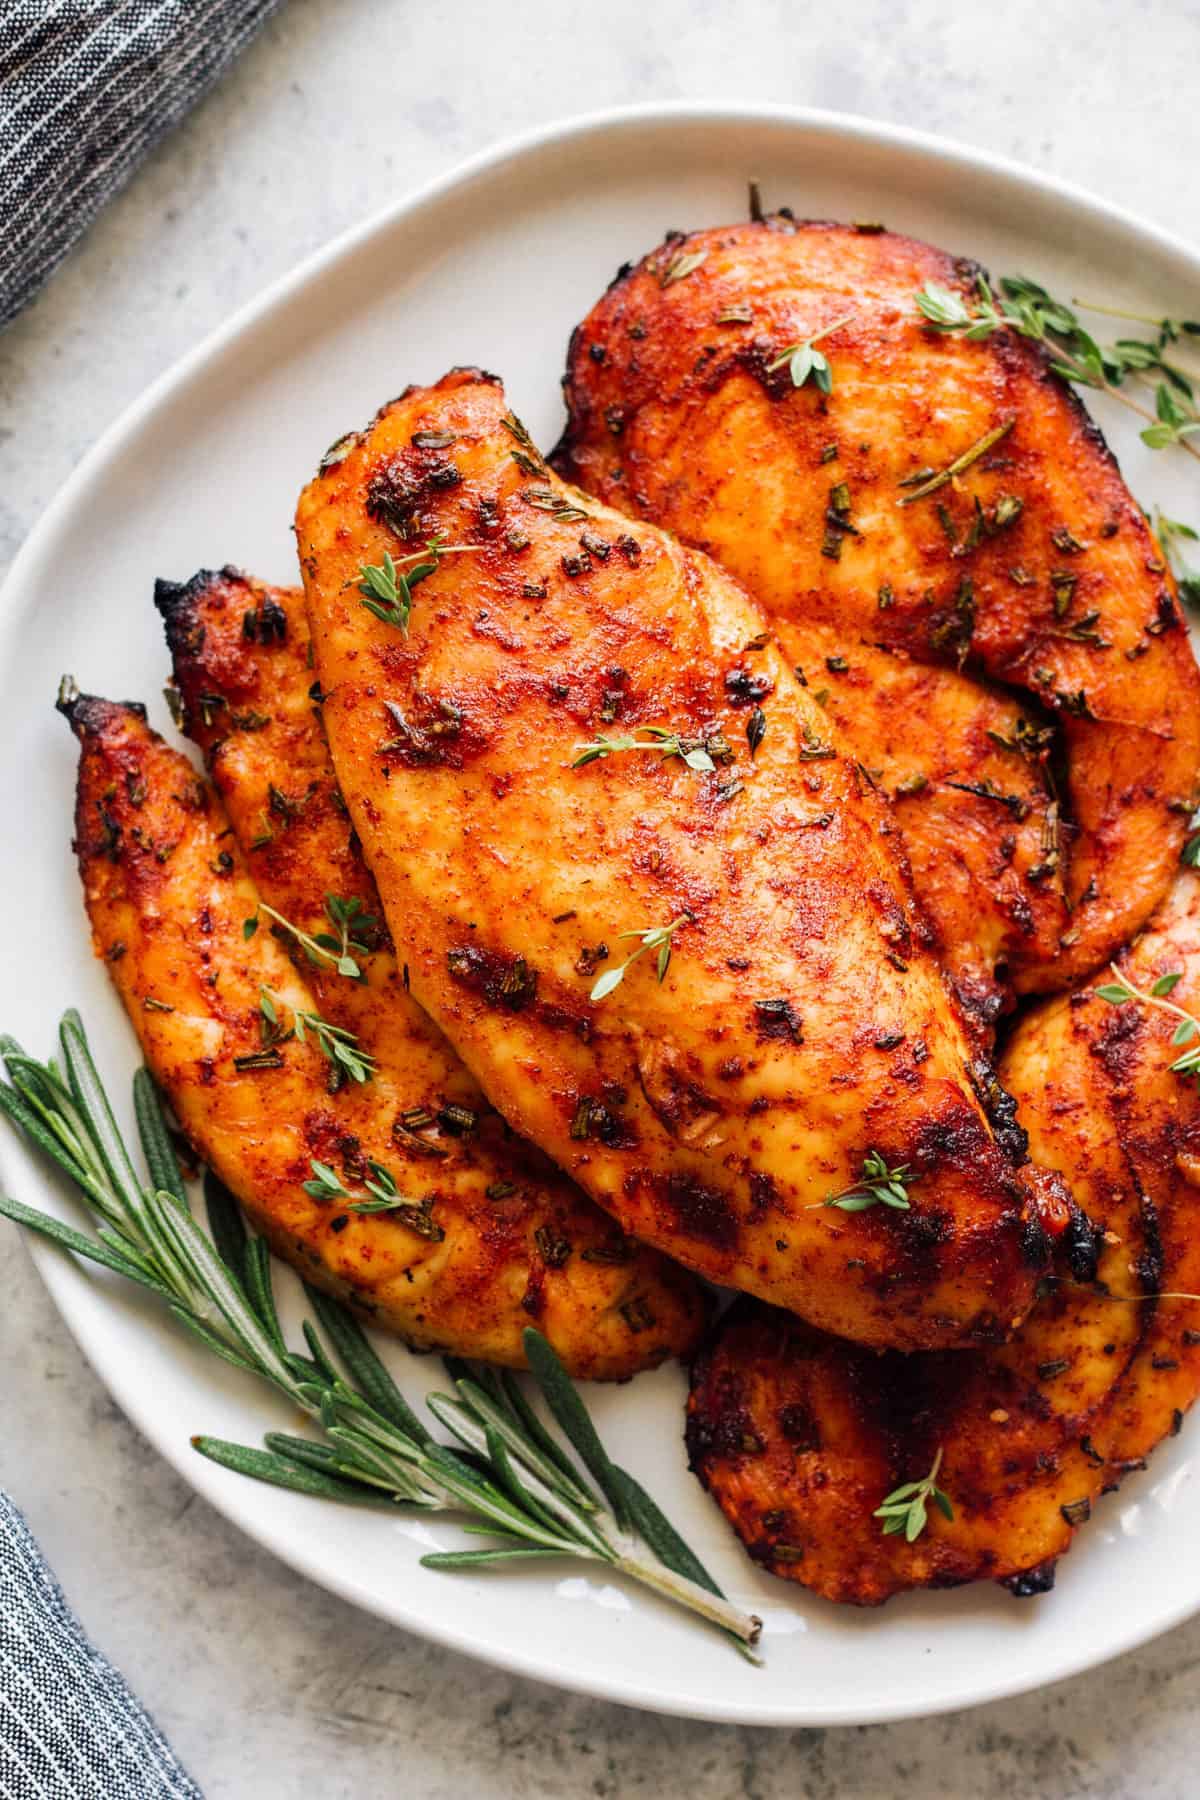
Thanks for the easy instructions- I love making chicken this way!
–
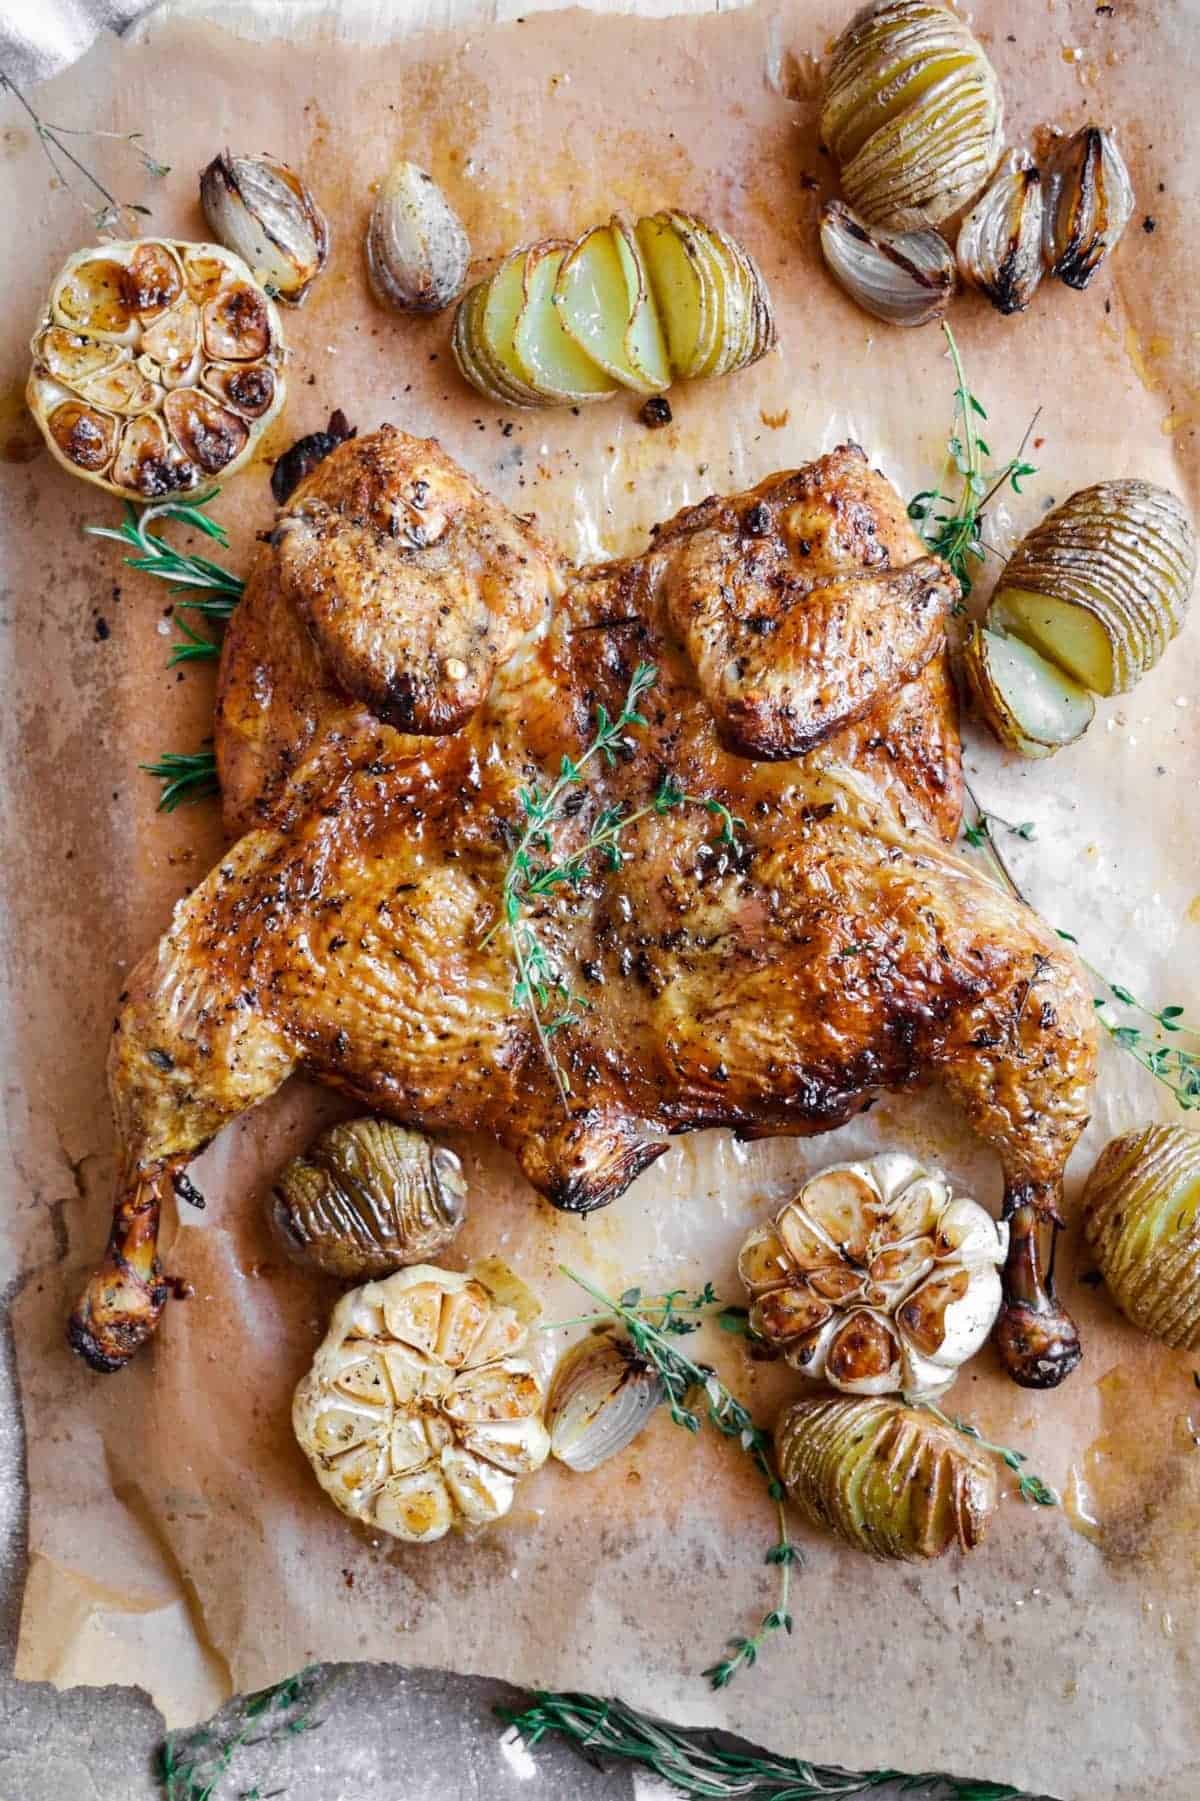
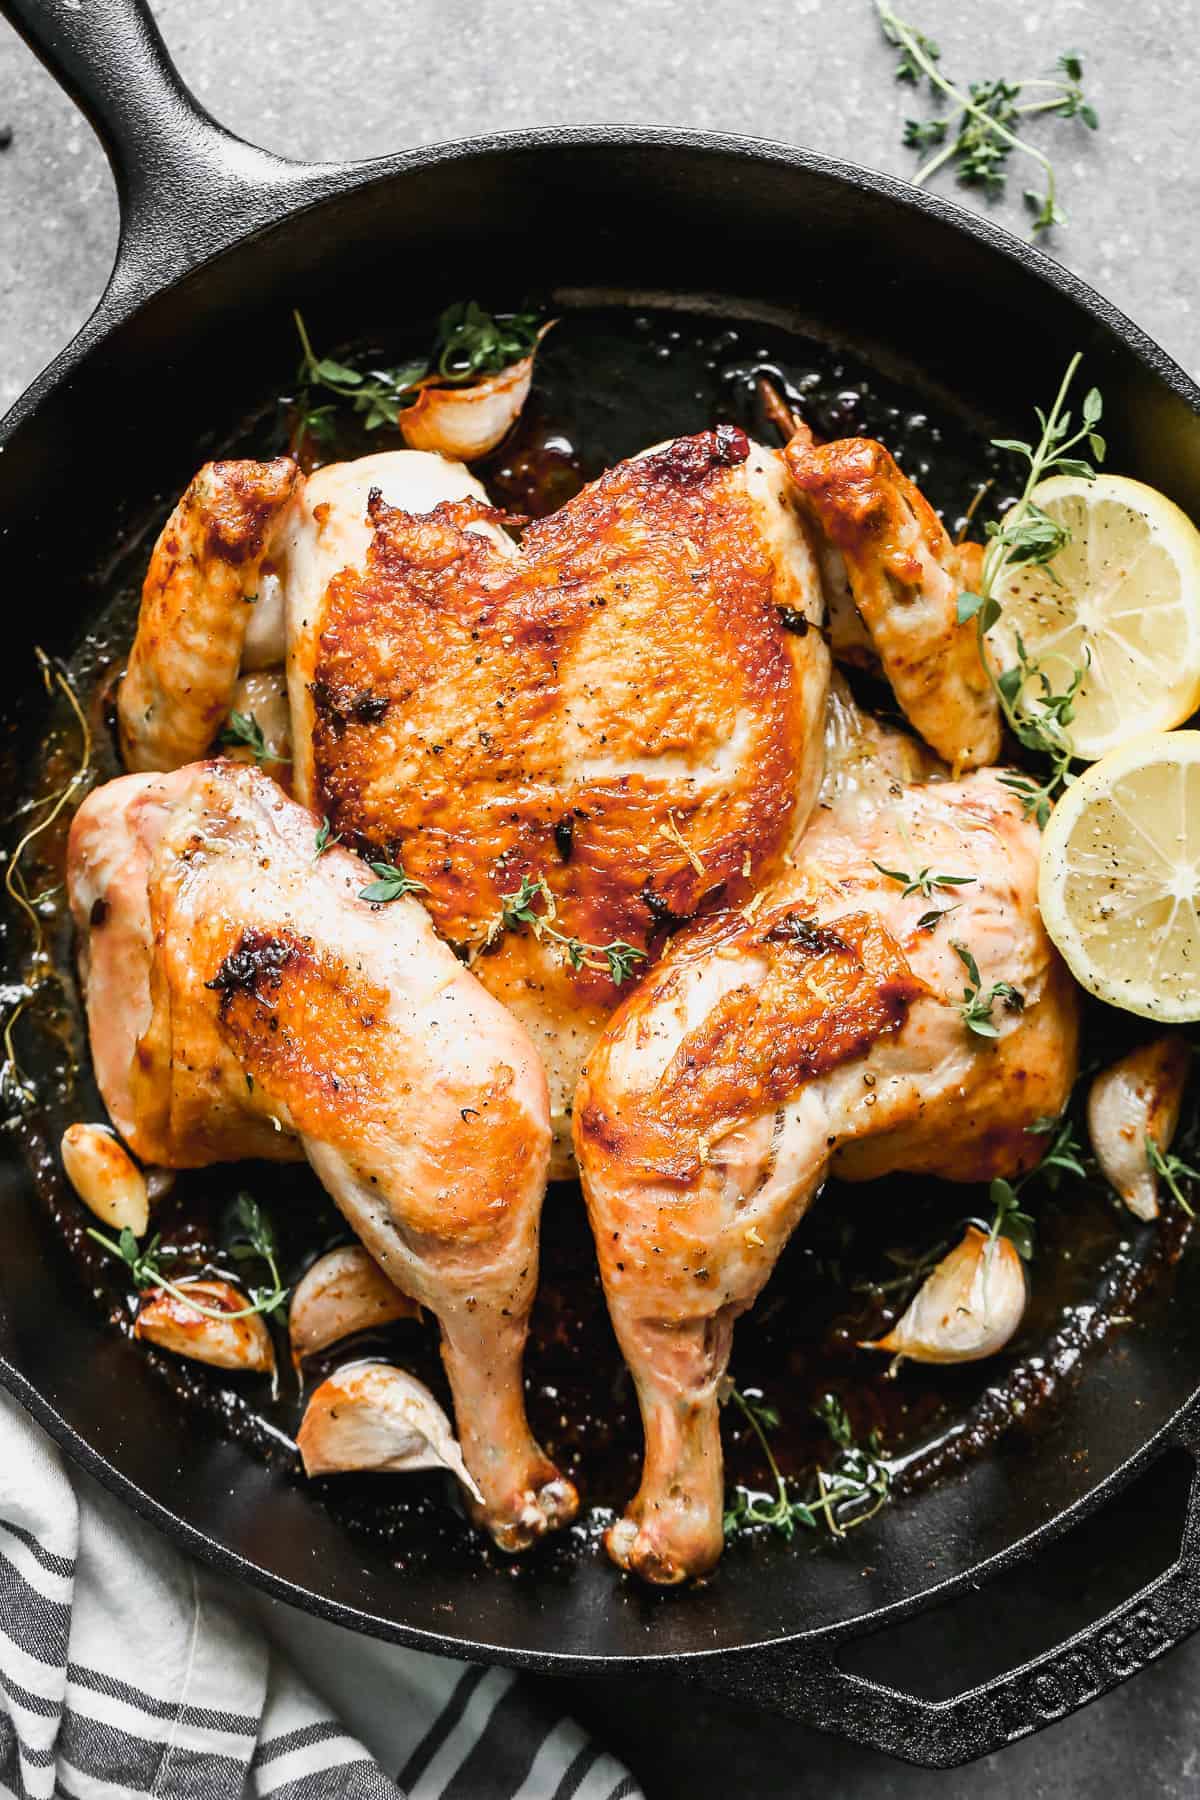
Oven-Roasted Spatchcock Chicken
When I want to cook a nice roast chicken dinner that’s sure to impress family, friends, and all my guests, I start with this simple technique! Spatchcocking is a surprisingly easy way to prepare a whole chicken for cooking that results in succulent meat and deliciously-crisp skin. I never have to worry about different parts of the chicken cooking unevenly and drying out.
Not only am I going to show you how to spatchcock a chicken the easy way, I’m also going to show you how to season and roast it in the oven. I love to make a meal of it with potatoes, herbs, onions, and whole heads of garlic. The best part? I cook everything on a single sheet pan, so this basically turns into the most beautiful one-pan chicken dinner I’ve ever made!

Email this recipe
Enter your email and we’ll send the recipe directly to you!
By submitting this form, you consent to receive emails from Easy Chicken Recipes.
What is Spatchcock Chicken?
Spatchcocking is the process of cutting and removing the backbone from a chicken (this can also be done with turkeys and other poultry) so that it lays flat. When it comes to a whole chicken, it is essentially the same process as butterflying. The point is to open up and lay the entire chicken out flat so that it cooks faster and more evenly. This happens because more surface area is exposed while cooking, so the heat source doesn’t need as much time to reach deep into the middle of the chicken. Another bonus? This technique results in much crispier skin!
One Simple Tip!
Spatchcocking a chicken is actually quite easy, so you don’t have to do much to prep. My one big recommendation is to get a pair of heavy-duty poultry shears to cut out the backbone of the chicken. Good kitchen shears will work in a pinch, but poultry shears work better since they are designed specifically to cut through bone.

Roasted Spatchcock Chicken Recipe
Equipment
- Sheet Pan
- Poultry Shears (or Kitchen Shears)
Ingredients
- 1 (4-pound) whole chicken (*)
- 5 heads garlic (whole)
- 1 tablespoon ground thyme (**)
- 1 teaspoon ground rosemary (**)
- 1 teaspoon ground oregano (**)
- ⅓ cup extra virgin olive oil
- 7 baby potatoes (***)
- 1 onion
Instructions
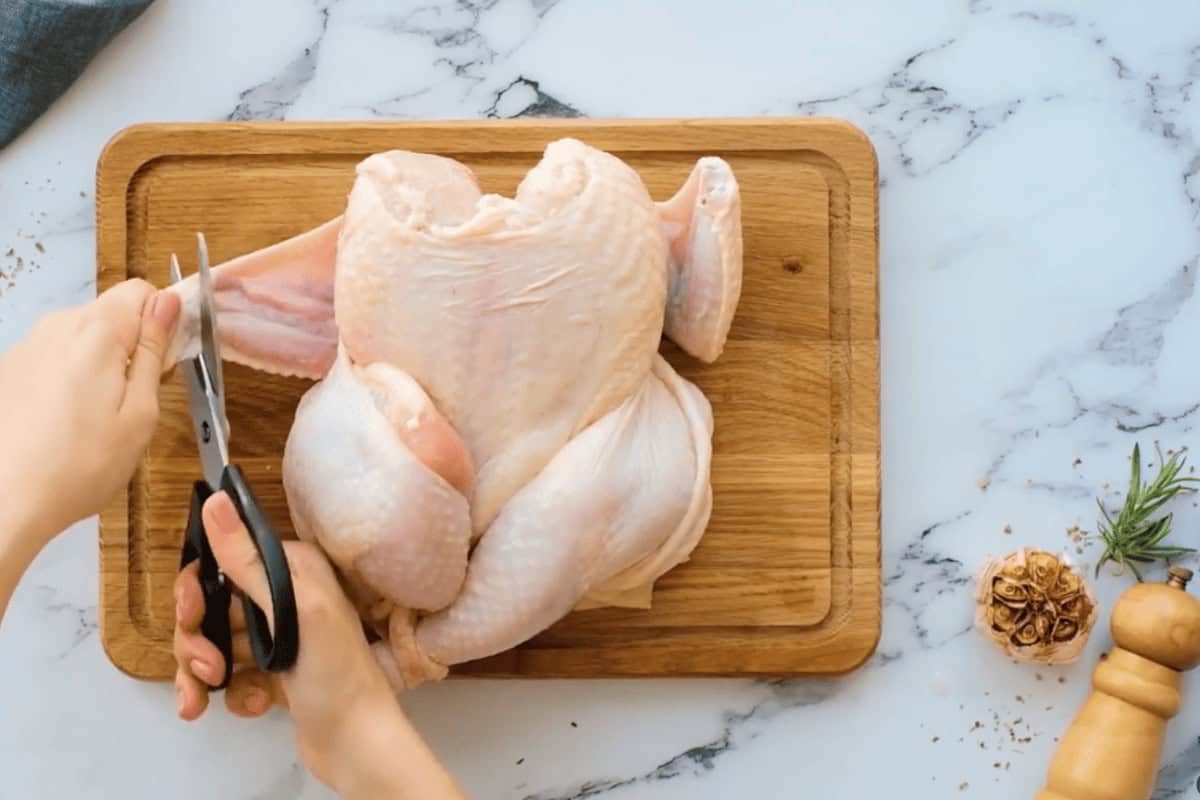
How to Spatchcock a Chicken:
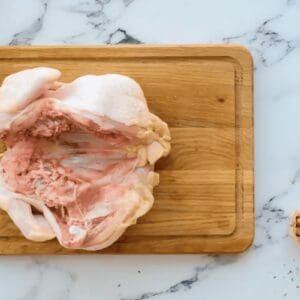
- Place the whole chicken on a work surface, breast side down.1 (4-pound) whole chicken
- Use a pair of poultry/kitchen shears to cut along the right side of the backbone, from tail to neck.

- Cut the same way along the left side, and remove the backbone.
- Turn the chicken breast side up.
- Press firmly downwards until chicken is flat and you hear it crack.
- Cut off the wing tips of the chicken.


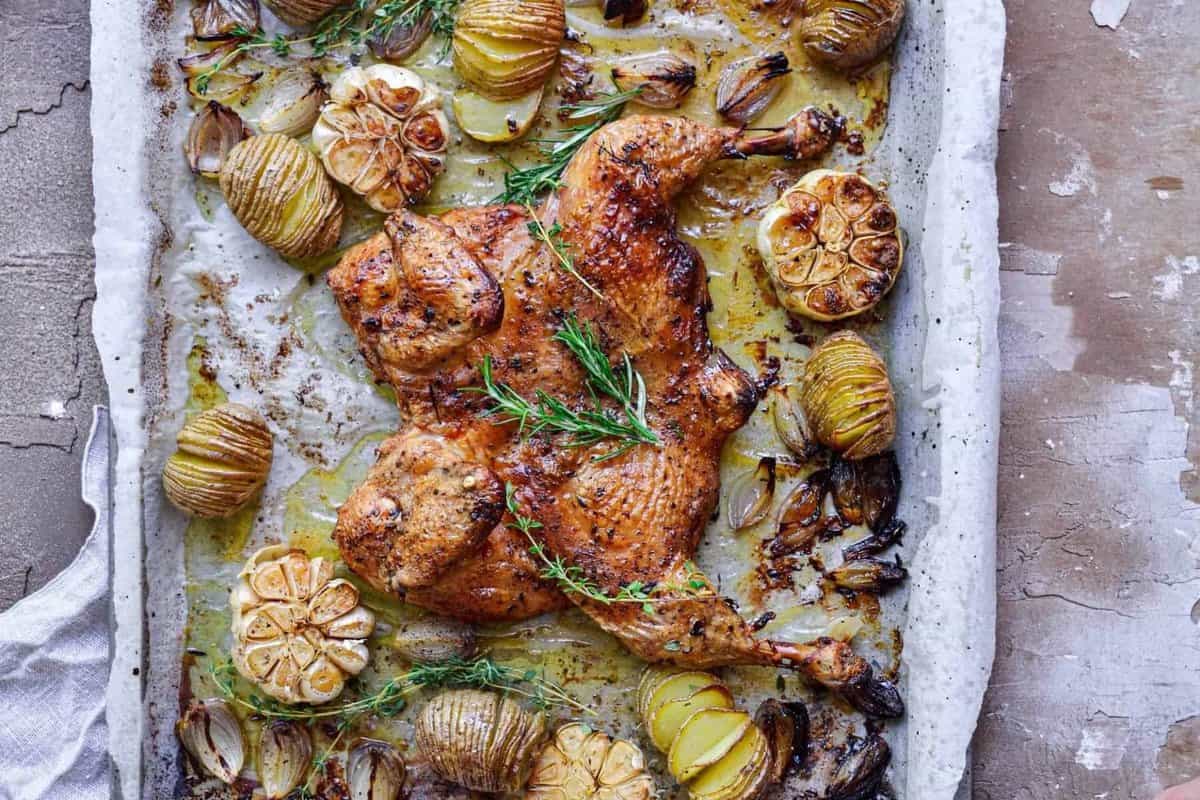
Roast Spatchcock Chicken and Potatoes:
- Preheat oven to 240°C/450°F.
- Line a sheet pan with parchment paper and place the chicken in the middle.
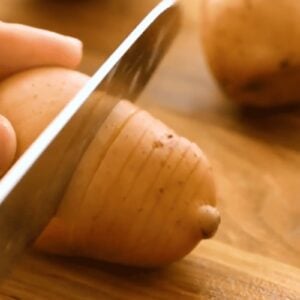
- Use a sharp knife to thinly slice the baby potatoes halfway through. The potatoes should have slits, but the bottom part should be intact. Add the potatoes to the pan.7 baby potatoes
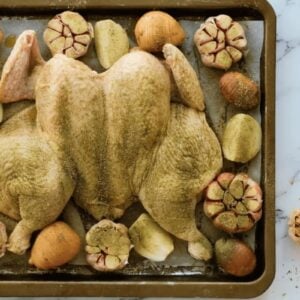
- Chop off the top ½ inch of the garlic heads. Add them to the pan.5 heads garlic
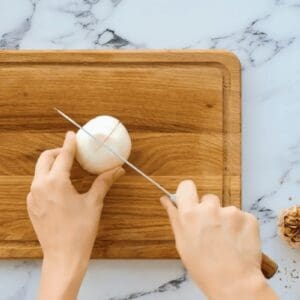
- Peel onion then cut in quarters. Add to the pan.1 onion
- Drizzle ingredients on the pan with olive oil, and sprinkle with ground oregano, thyme, and rosemary.1 tablespoon ground thyme, 1 teaspoon ground rosemary, ⅓ cup extra virgin olive oil, 1 teaspoon ground oregano
- Reduce oven temperature to 200°C/400°F. Roast for 45 minutes or until golden brown.
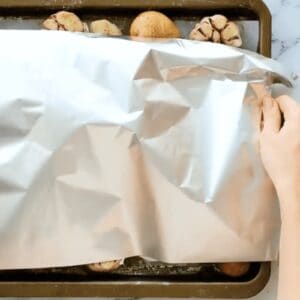
- Carefully remove tray from the oven. Cover chicken, veggies, and potatoes with foil.
- Roast for another 30 minutes.
- Let the chicken rest for 10-15 minutes before carving.


Notes
- After removing the backbone, use it to make chicken stock!
- No need to peek the garlic. Chopping off the tops of the heads is enough to add the flavor and aroma of garlic to the chicken.
- Use an instant-read thermometer to check the breasts and thighs for doneness. They should both register 165°F at the thickest point.
- If the skin is beginning to burn before the meat has finished cooking, tent the entire bird with foil. I recommend doing this proactively for the final 30 minutes.
Note: Water, salt, pepper, oil, and broth are not counted as ingredients on this site.
How to Spatchcock a Chicken Step by Step
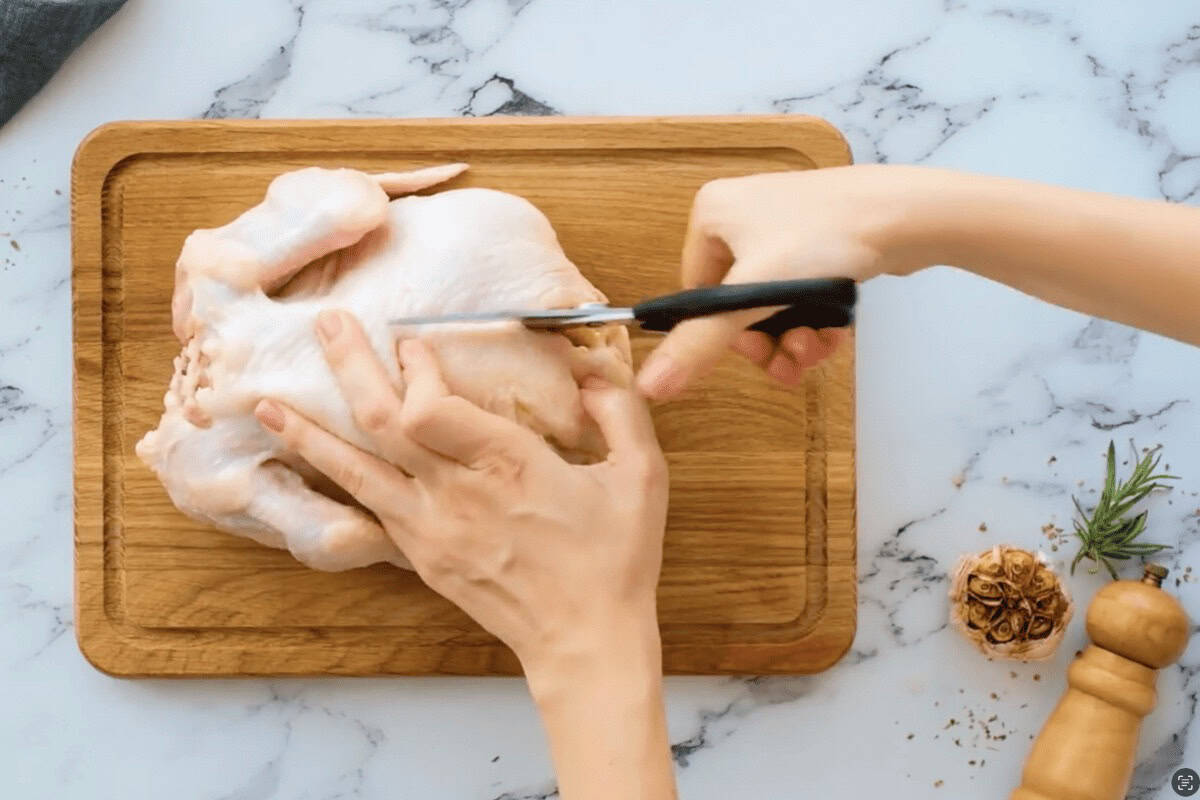
Prep and Cut: Place 1 whole chicken on a clean work surface, breast-side down. Holding the chicken down firmly with one hand, use a pair of poultry shears to cut along the right side of the backbone, from tail to neck.
Remove Backbone: Then cut the same way (tail to neck) along the left side, and remove the backbone.
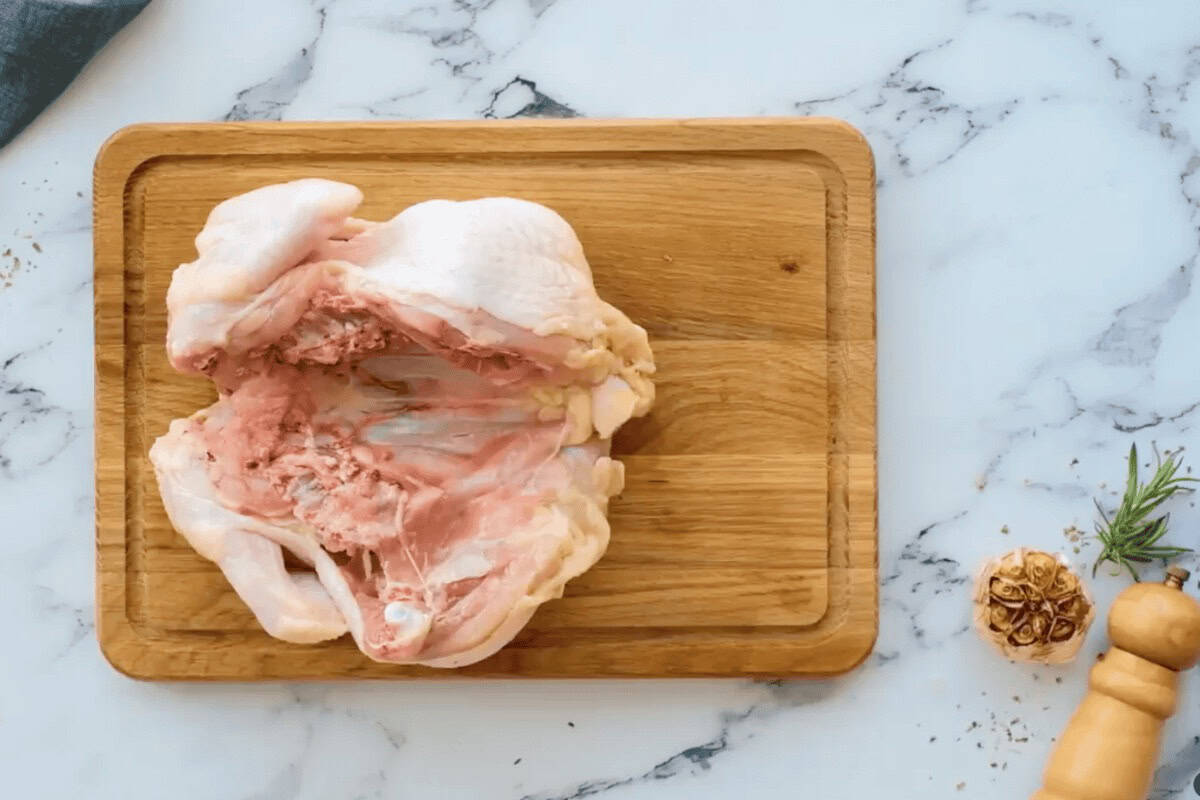
Flip: Next, turn the butterflied chicken breast side up.
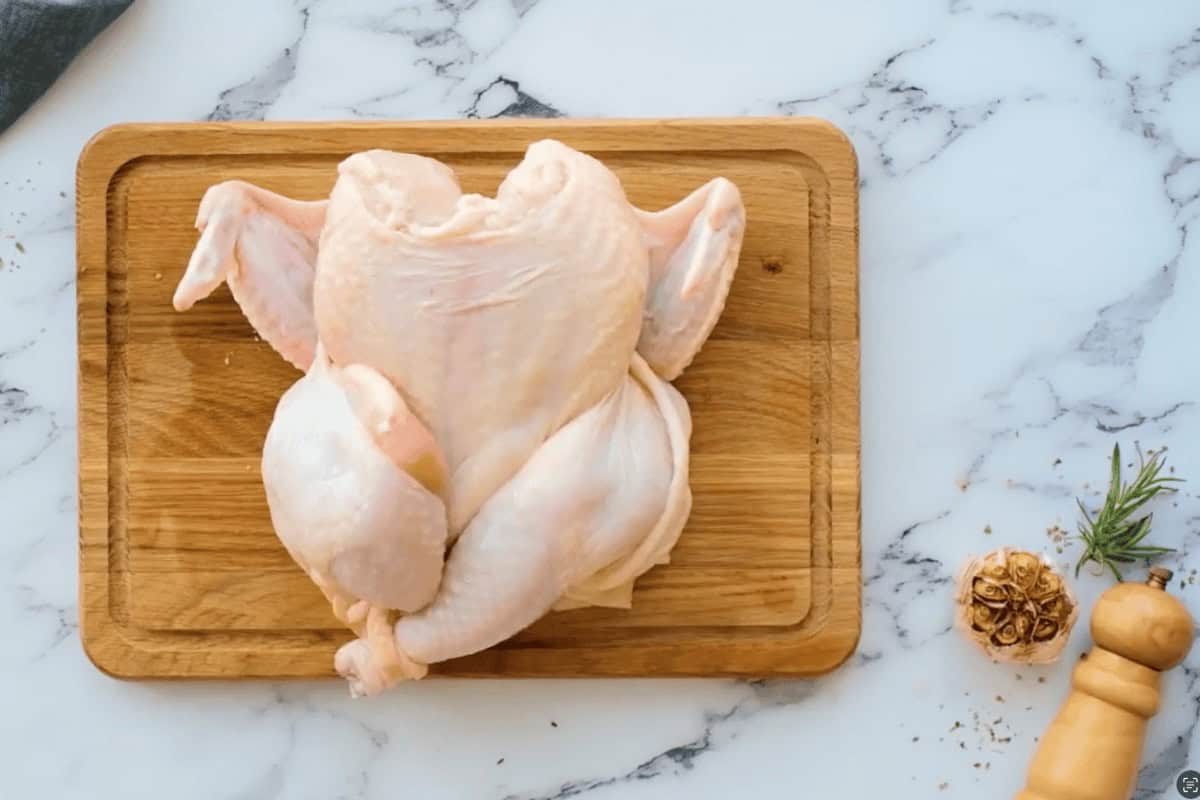
Flatten: Use both hands and the weight of your arms to press firmly downwards at the center (breastbone) of the chicken. You should hear a crack and the chicken will flatten out.

Cut the Wings: The final step is cutting off the wing tips. Use your poultry or kitchen shears to snip the very tips. You can just tuck them instead, but the tips tend to burn when roasting.
Cook: Now you can season, marinade, and cook the spatchcocked chicken in the oven, or on the grill or smoker.
How to Store and Reheat
To store leftover spatchcock chicken, carve and place the pieces/meat in an airtight container. The potatoes, onions, and garlic can all be stored with the chicken. Store in the refrigerator for 3 days, or freeze for 3 months. Reheat pieces of chicken in the microwave, air fryer, or oven until warmed through.
More Whole Chicken Recipes to Try!


This recipe was contributed by Michaella at Well + Yum.


Leave a Reply