


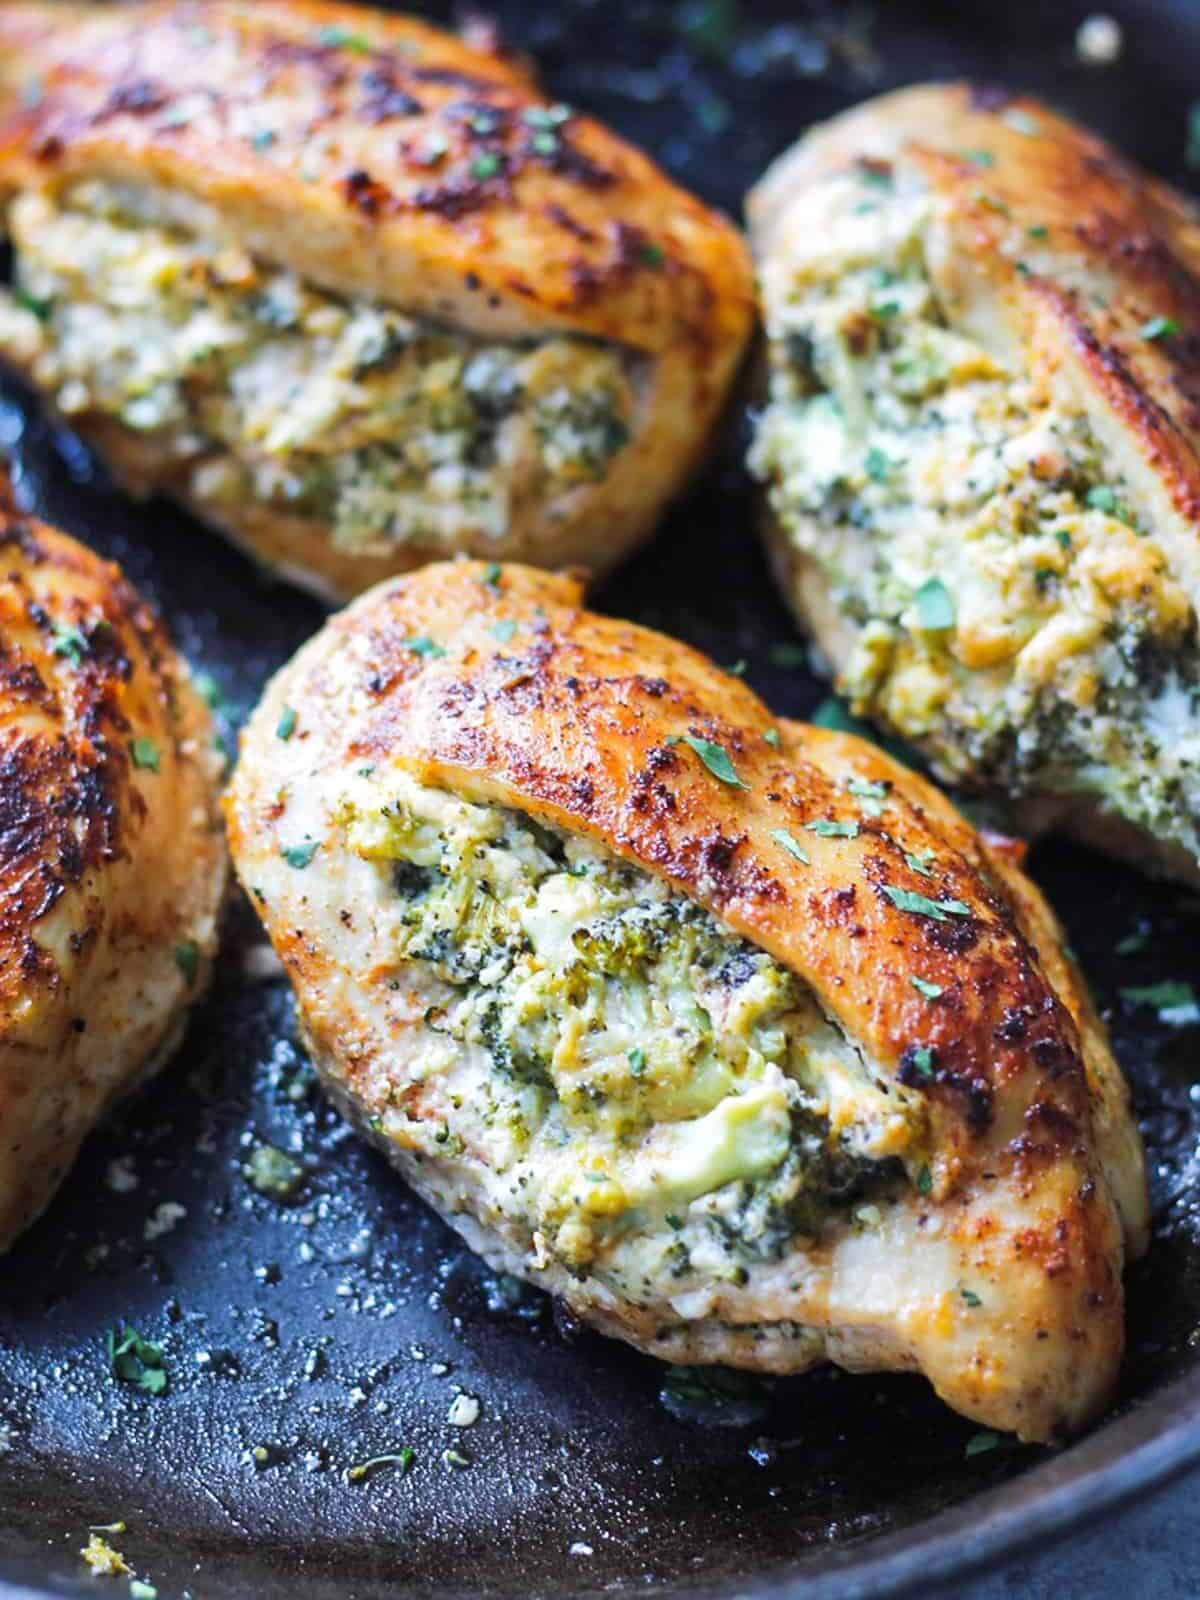
This oven-baked chicken Kiev recipe is my never-fail, always-juicy dinner idea. I wrap thinly-sliced chicken breasts around a log of herb butter, coat them in crunchy breadcrumbs, then bake them to tender perfection in the oven. I love how the melted buttery filling oozes out when I slice into it, creating a wonderful sauce for both the chicken and any sides. It’s so decadent and delicious!

Breaded and Baked Chicken Kiev Stuffed with Herb-y Butter
Chicken Kiev, like chicken cordon bleu, is one of those dishes I grew up hearing about and thought was only for grown-ups at fancy dinner parties. But it turns out anyone can enjoy this juicy chicken stuffed with melty herb butter. It’s surprisingly easy to make, and the results truly are so impressive. The butter makes the chicken so moist, and I love the crunchy breadcrumbs on the outside.
While you certainly can pan-fry chicken Kiev with wonderful results, I opted to go the easier route. My baked chicken Kiev is just as crispy on the outside and juicy on the inside as the pan-fried version, but with so much less work. I just place my chicken pockets in a baking dish and let my oven do the work!
🧈
Prep ahead for weeknight dinners!
To make this dish weeknight-friendly, I just prep the butter the day before. Mash it up with herbs, and place the butter log in the freezer so it’s ready to use. You can also roll and stuff the chicken the day before to make it even easier!

Oven-baked Chicken Kiev Recipe
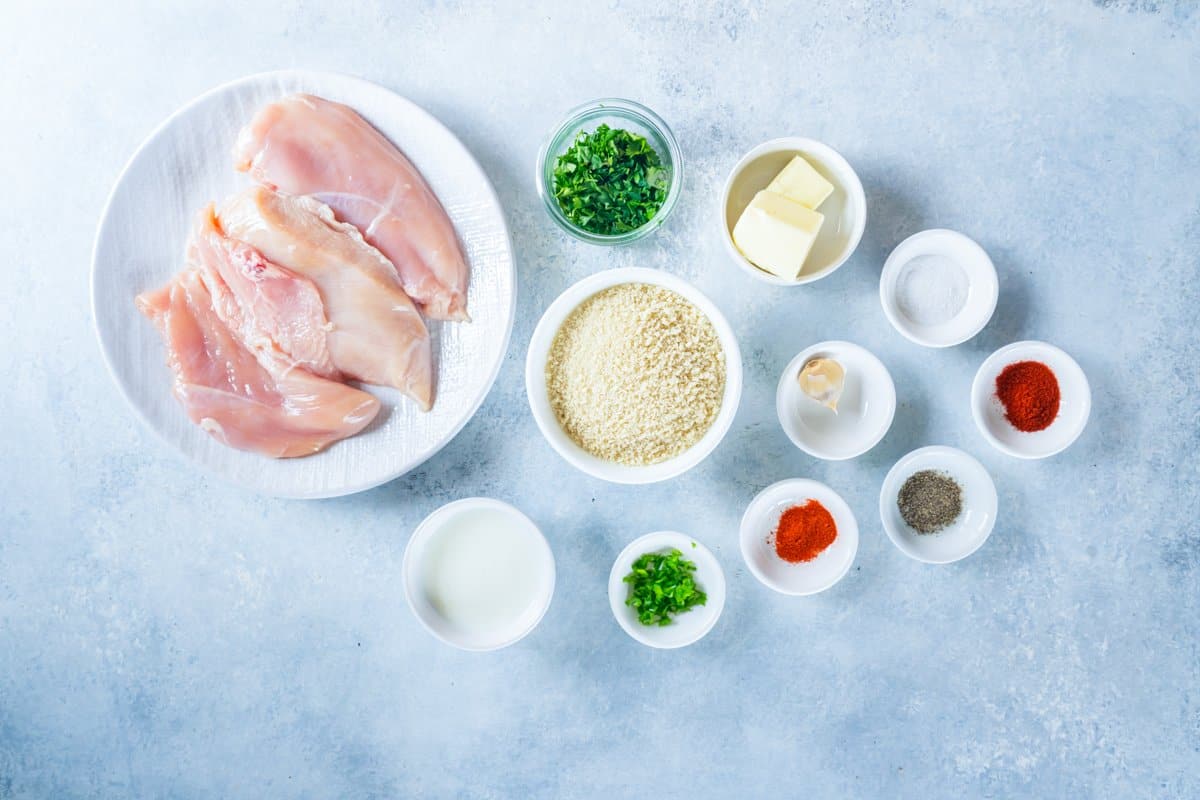
Ingredients
- ¼ cup unsalted butter (½ stick, room temp*)
- 3 tablespoons minced parsley (divided)
- 1 tablespoon minced green onion
- 1 tablespoon minced garlic (from 2 cloves)
- 4 boneless, skinless chicken breasts (6-8 ounces each)
- kosher salt (to taste)
- ground black pepper (to taste)
- 1 cup Panko breadcrumbs (**)
- ½ teaspoon ground paprika
- ¼ teaspoon ground cayenne pepper
- ⅓ cup buttermilk
Instructions
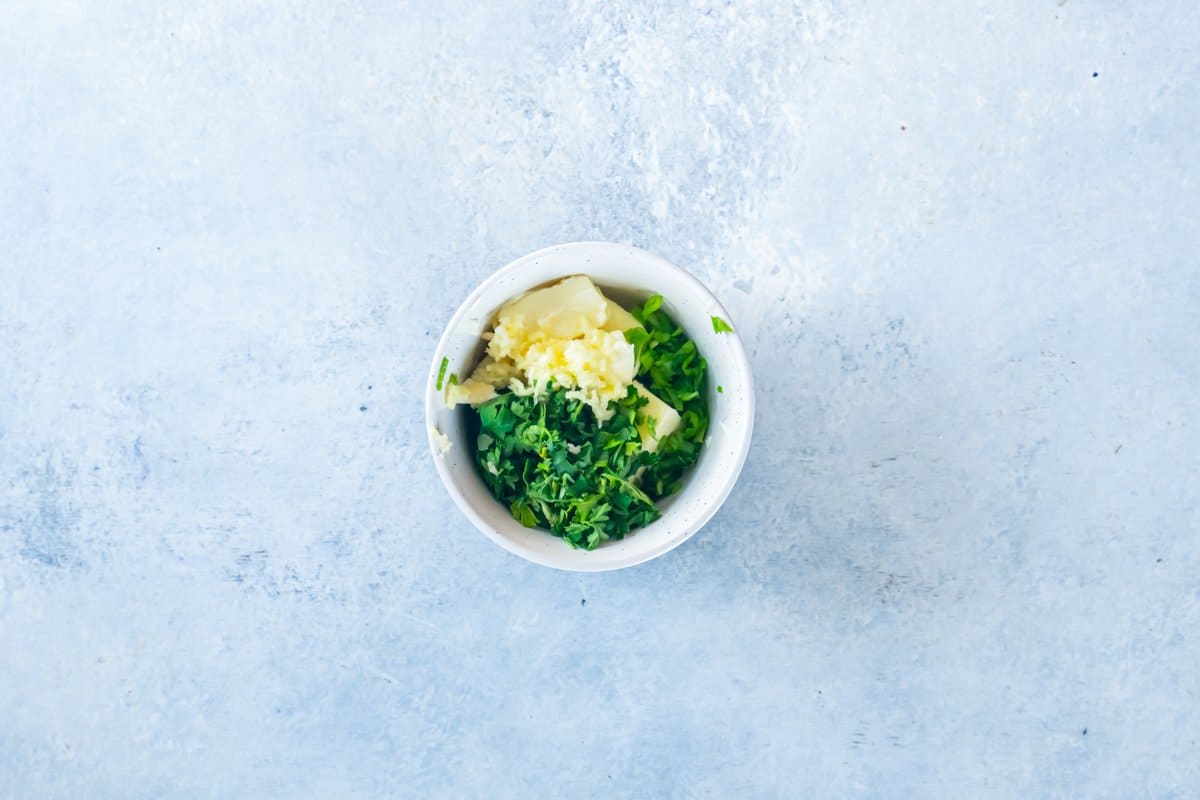
- In a small bowl, combine the butter with 1 tablespoon each of parsley, green onion, and garlic.¼ cup unsalted butter, 1 tablespoons minced parsley, 1 tablespoon minced green onion, 1 tablespoon minced garlic

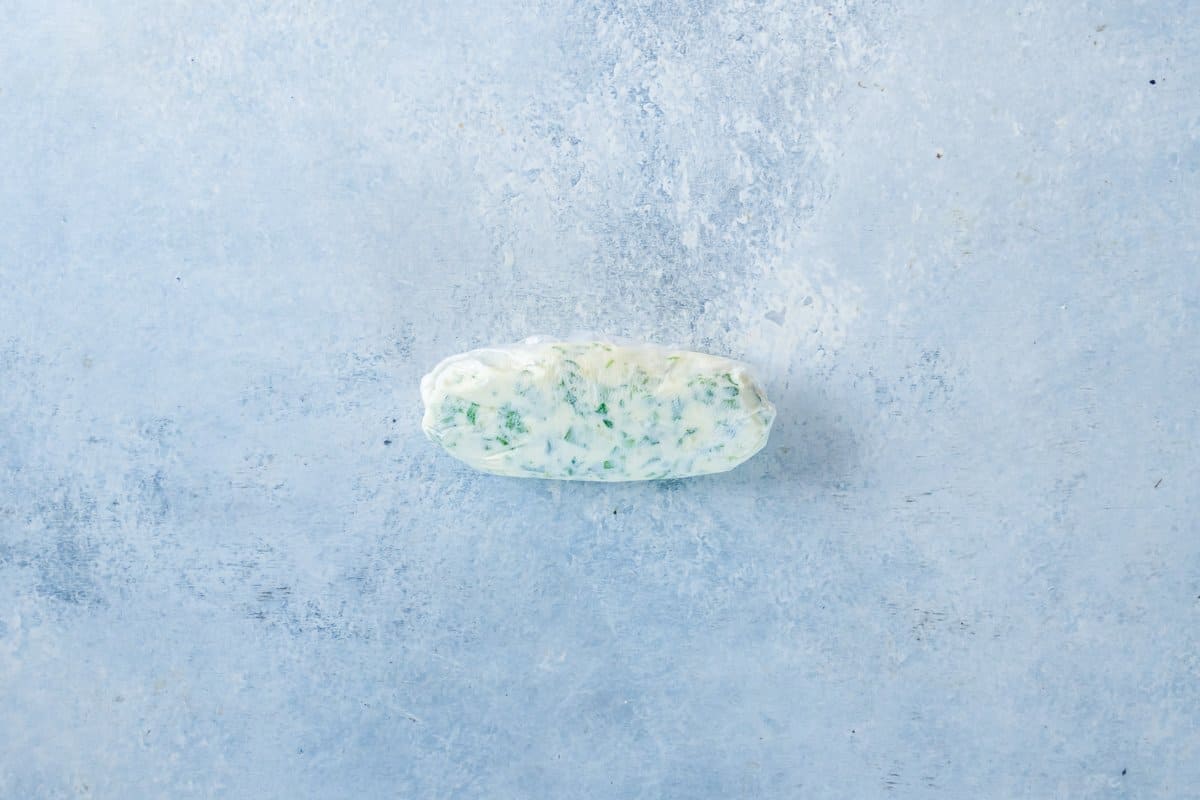
- Spoon onto a piece of plastic wrap and form into a small log. Twist closed and freeze for 40 minutes, until firm.
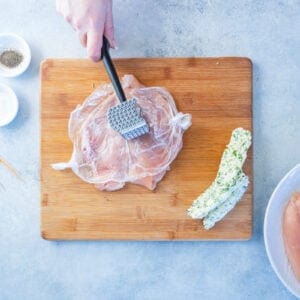
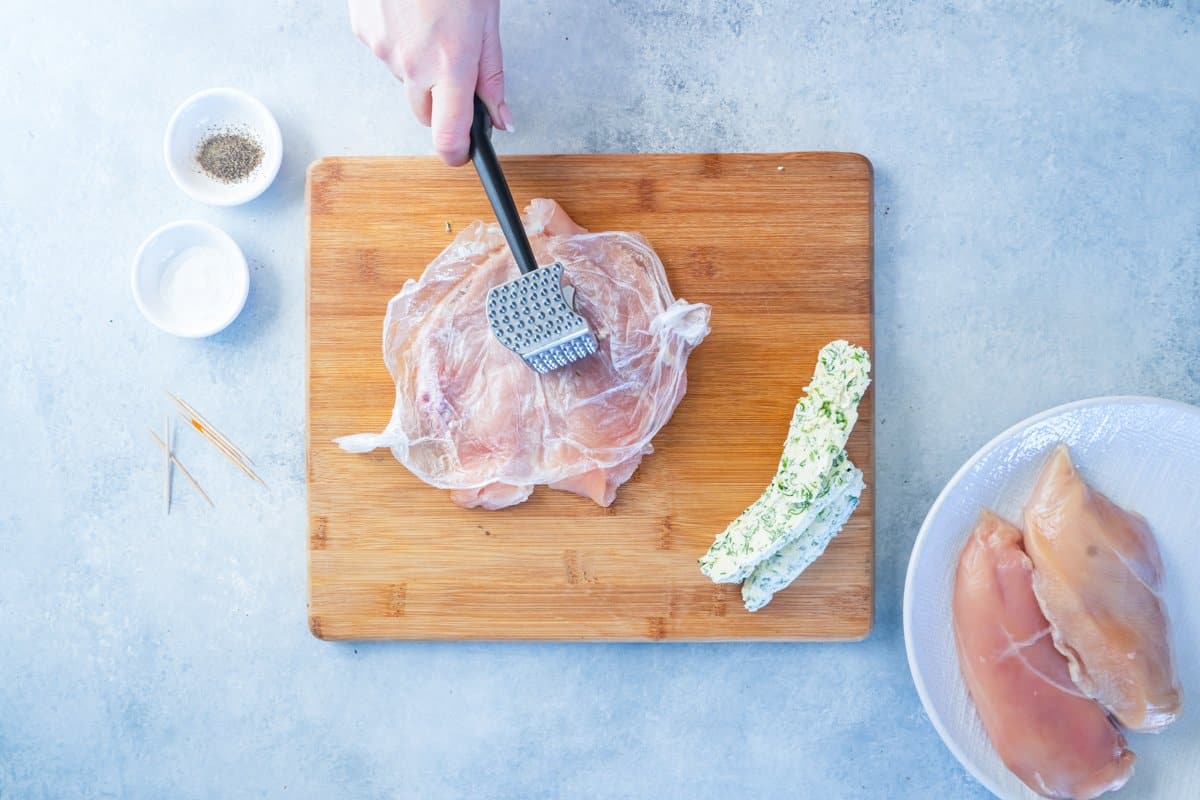
- Butterfly each chicken breast then pound to ¼-inch thickness. Season with salt and pepper.4 boneless, skinless chicken breasts, kosher salt, ground black pepper
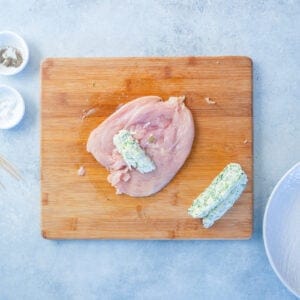
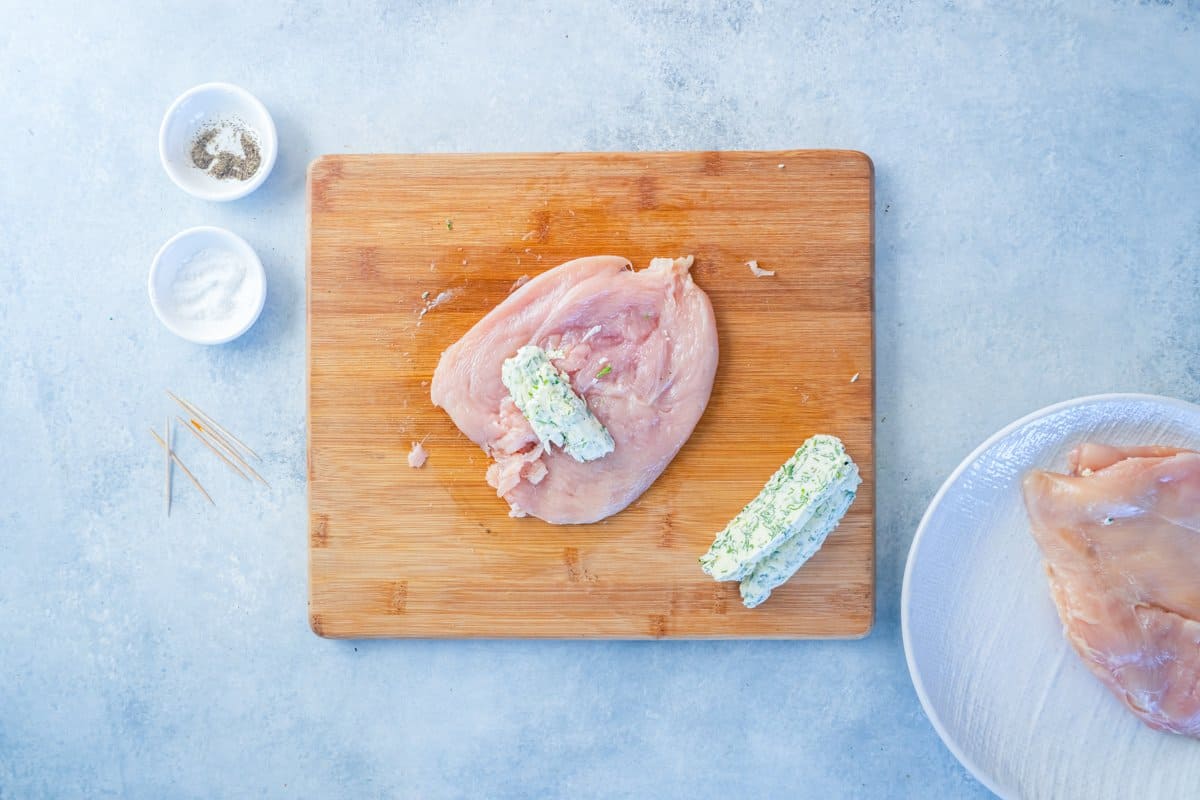
- Cut the chilled butter log lengthwise into 4 equal pieces. Then place 1 piece in the center of each chicken breast.
- Tightly roll up each piece of chicken from the long side, tucking the ends under and securing them with toothpicks. Chill for 30 minutes.
- While the chicken chills, preheat the oven to 425°F. Spray a baking dish with cooking spray and set aside.
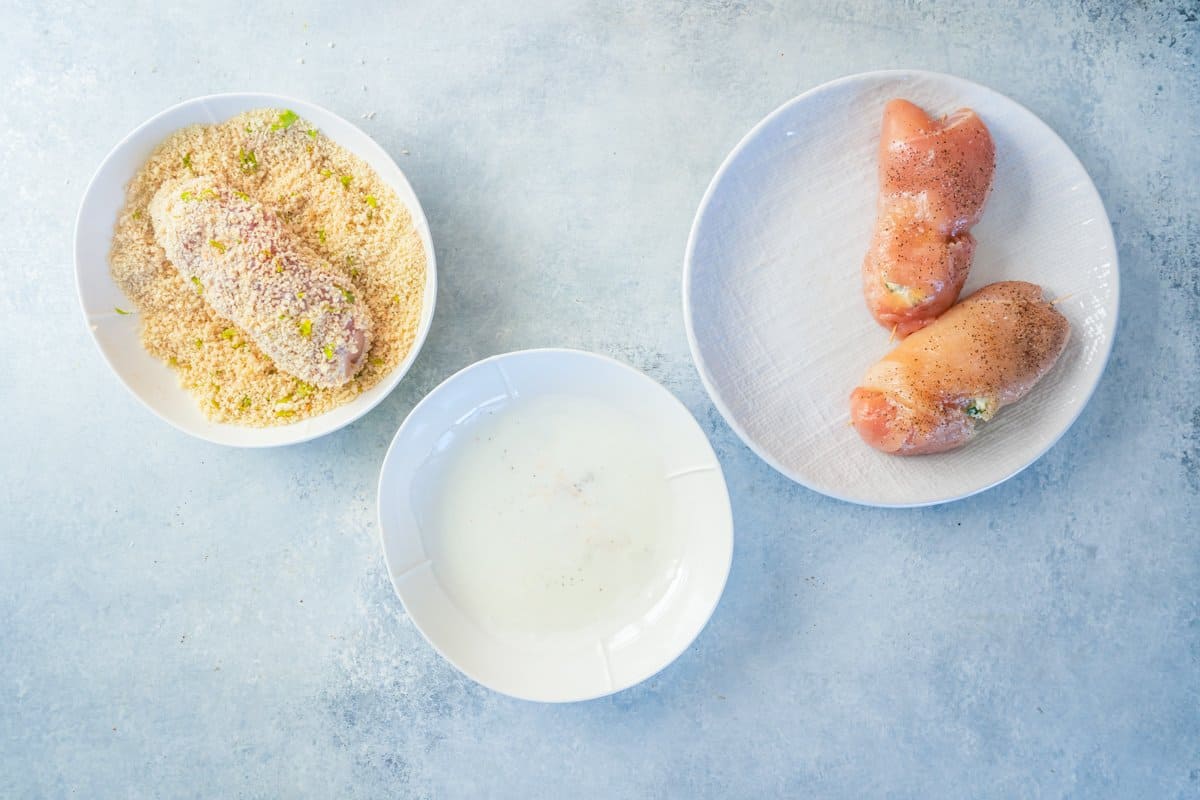
- Create a breading station. In a shallow bowl, combine the breadcrumbs, paprika, cayenne, and remaining parsley. Place the buttermilk in another shallow bowl.1 cup Panko breadcrumbs, ½ teaspoon ground paprika, ¼ teaspoon ground cayenne pepper, 2 tablespoons minced parsley
- Dip the chicken into the buttermilk.⅓ cup buttermilk
- Coat evenly with the breadcrumb mixture. Repeat with all pieces.
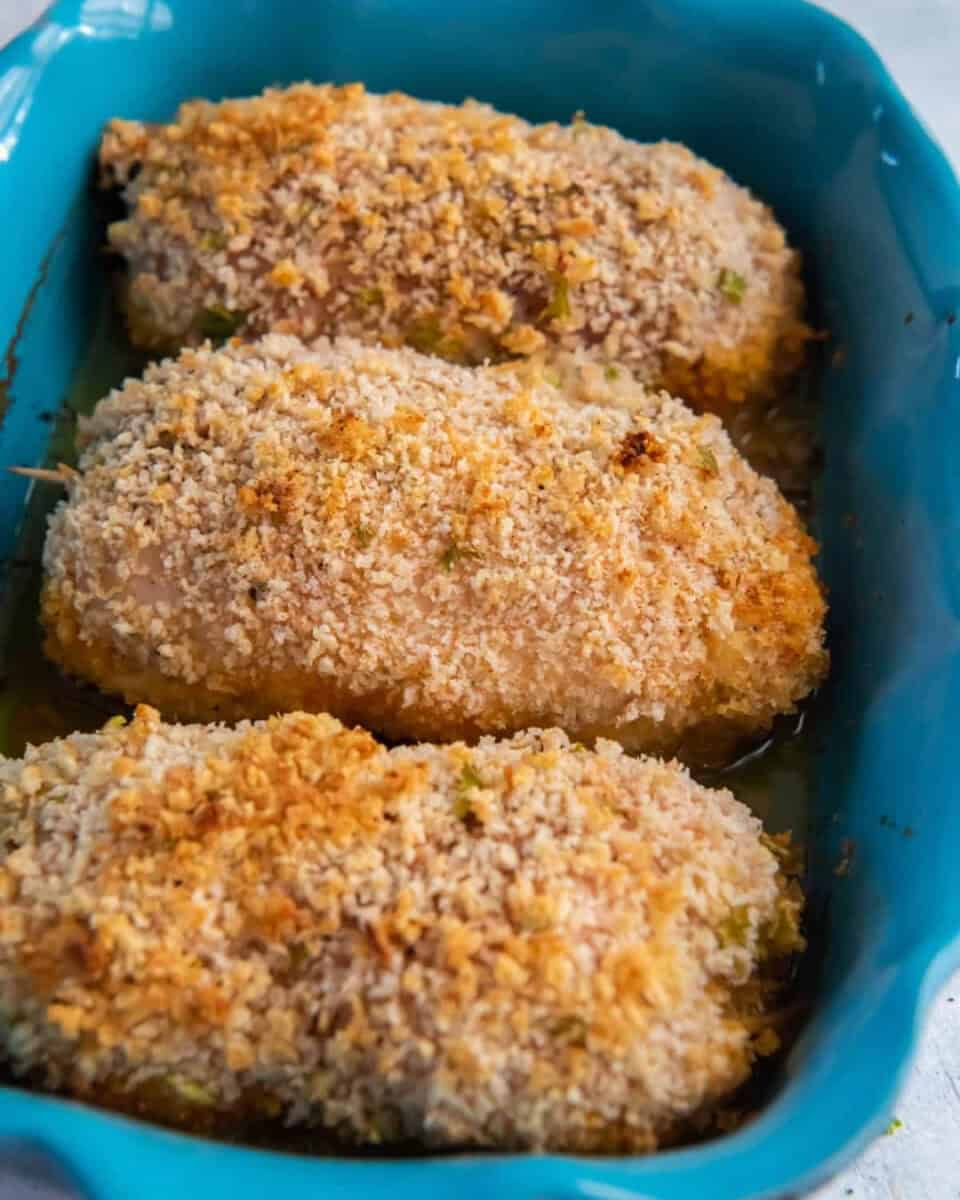
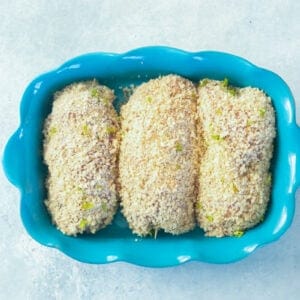
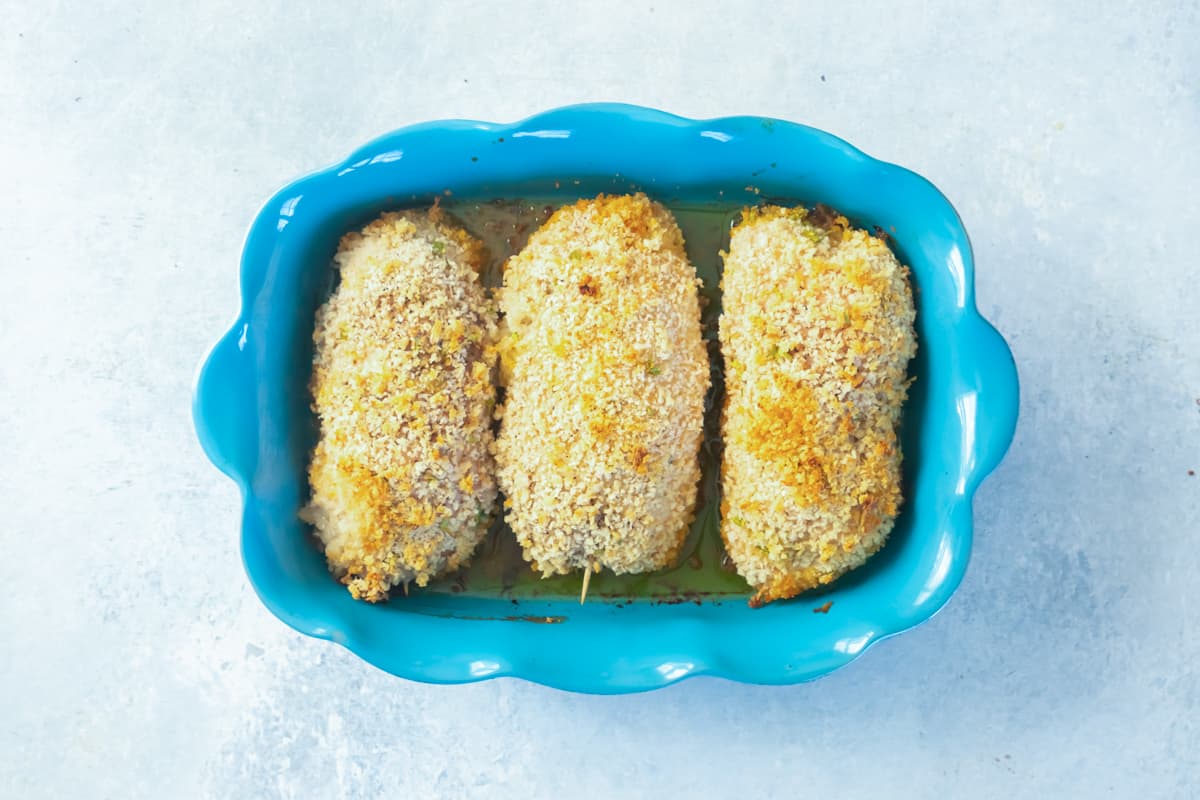
- Place the breaded chicken in the prepared baking dish, seam side down.
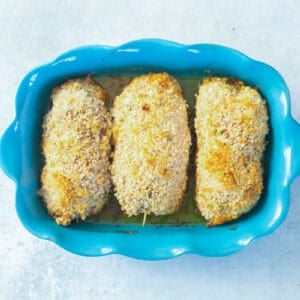
- Bake, uncovered, 35-40 minutes, or until chicken reaches an internal temperature of 165°F. Remove and discard the toothpicks before serving.


Notes
- Pounding the chicken to an even ¼-inch thickness ensures it cooks evenly and stays juicy without over-baking the edges.
- Make sure the butter is fully enclosed inside the chicken before baking. Any small opening can cause the butter to leak out during cooking. Pinch or tuck the edges tightly, and use toothpicks or kitchen twine if needed.
- Don’t skip the chill time before cooking! Chilling helps the butter firm up again and allows the coating to adhere better, which keeps the filling inside and ensures crispier chicken.
- Be sure to use a baking dish to contain any butter that may leak out of the chicken breasts. You can also line a baking sheet with aluminum foil for easy cleanup.
- Place the chicken on top of a wire rack set on a baking sheet or dish to help the meat get crispy on all sides and prevent soggy bottoms.
- If the chicken is browning too quickly, tent it loosely with foil about halfway through baking.
- Sometimes, chicken appears pink even when it is fully cooked through due to several factors, including the diet of the bird. I always recommend checking the temperature of the chicken with an instant-read thermometer to be sure it is fully cooked through to 165°F.
- Let the baked chicken rest for 5 minutes before slicing. This keeps the juices inside and helps the melted butter settle instead of running out immediately.
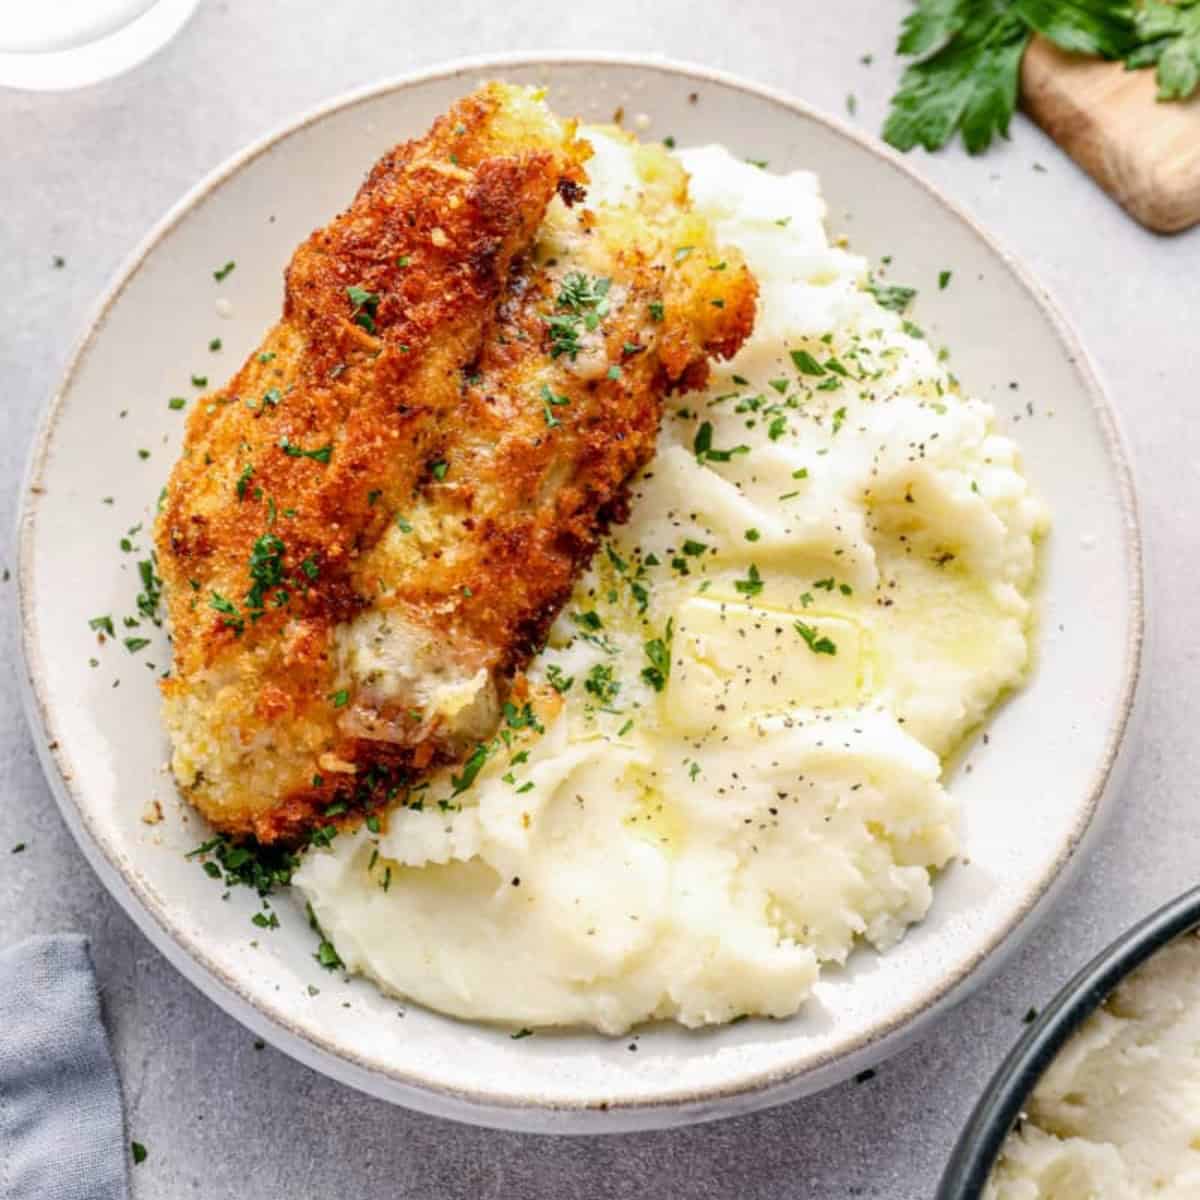
- Serve with mashed potatoes, rice pilaf, or a crisp green salad to soak up that garlicky butter sauce.
Note: Water, salt, pepper, oil, and broth are not counted as ingredients on this site.
Foolproof Tips
- Keep the butter cold. If the butter isn’t fully firm when you roll the chicken Kiev, it will leak out during the long bake time. I always freeze the butter log until it’s rock solid (about 40 minutes) and keep it cold while prepping. This ensures that the butter melts inside the meat as it cooks, basting the chicken from within and giving you that signature burst of garlicky flavor when you cut into it.
- Flatten the chicken. In order to make the chicken breasts thin enough to roll around the butter, you’ll need to butterfly and pound. Just slice each piece of chicken in half horizontally, leaving a hinge on one side. You’ll be able to open it up like a book (it resembles a butterfly!), then pound it to about ¼-inch thick.
- Make it crispy. Instead of just placing the chicken in the bottom of a baking dish, you can place a wire rack in the pan, and place the chicken on top. This helps the hot oven air circulate around each piece, so the breading really crisps up — no soggy bottom!
- Prevent burnt chicken. If the breading on the chicken is browning too quickly in the oven, loosely tent a sheet of aluminum foil over it for the second half of the bake time. This will prevent burnt breadcrumbs.
How to Make Chicken Kiev in the Oven Step by Step
Prep: Gather the list of ingredients for this homemade chicken Kiev recipe. Bring the butter to room temperature for 30-60 minutes before beginning so it’s easy to combine with the herbs and spices. Mince the garlic, parsley, and green onion.

Email this recipe
Enter your email and we’ll send the recipe directly to you!
By submitting this form, you consent to receive emails from Easy Chicken Recipes.
Make the Butter Log: In a small bowl, combine ¼ cup of room-temperature unsalted butter with 1 tablespoon each of parsley, green onion, and minced garlic. Spoon onto a piece of plastic wrap, and form into a small log. Twist closed and freeze for 40 minutes, or until firm.
Pound the Chicken: Butterfly 4 boneless, skinless chicken breasts horizontally to create large, flat pieces. Place each piece between sheets of plastic wrap, then pound (using a meat mallet or heavy utensil) to a ¼-inch thickness. This will make them flat enough to roll around the logs of butter. Season with salt and pepper.
Stuff the Chicken: Cut the chilled butter log lengthwise into 4 equal pieces, then place 1 piece in the center of each chicken breast. Tightly roll up each piece of chicken from the long side, tucking the ends under and securing them with toothpicks or twine. Chill for 30 minutes. This ensures the butter stays cold before it hits the oven.
Dredge the Chicken: While the chicken chills, preheat your oven to 425°F. Spray a high-sided baking dish with cooking spray and set aside. Create a breading station. In a shallow bowl, combine 1 cup of Panko breadcrumbs, ½ teaspoon of ground paprika, ¼ teaspoon of ground cayenne pepper, and the remaining 2 tablespoons of parsley. Place ⅓ cup of buttermilk in another shallow bowl. Remove the chicken from the fridge. Dip the chicken into the buttermilk, then coat evenly with the breadcrumb mixture.
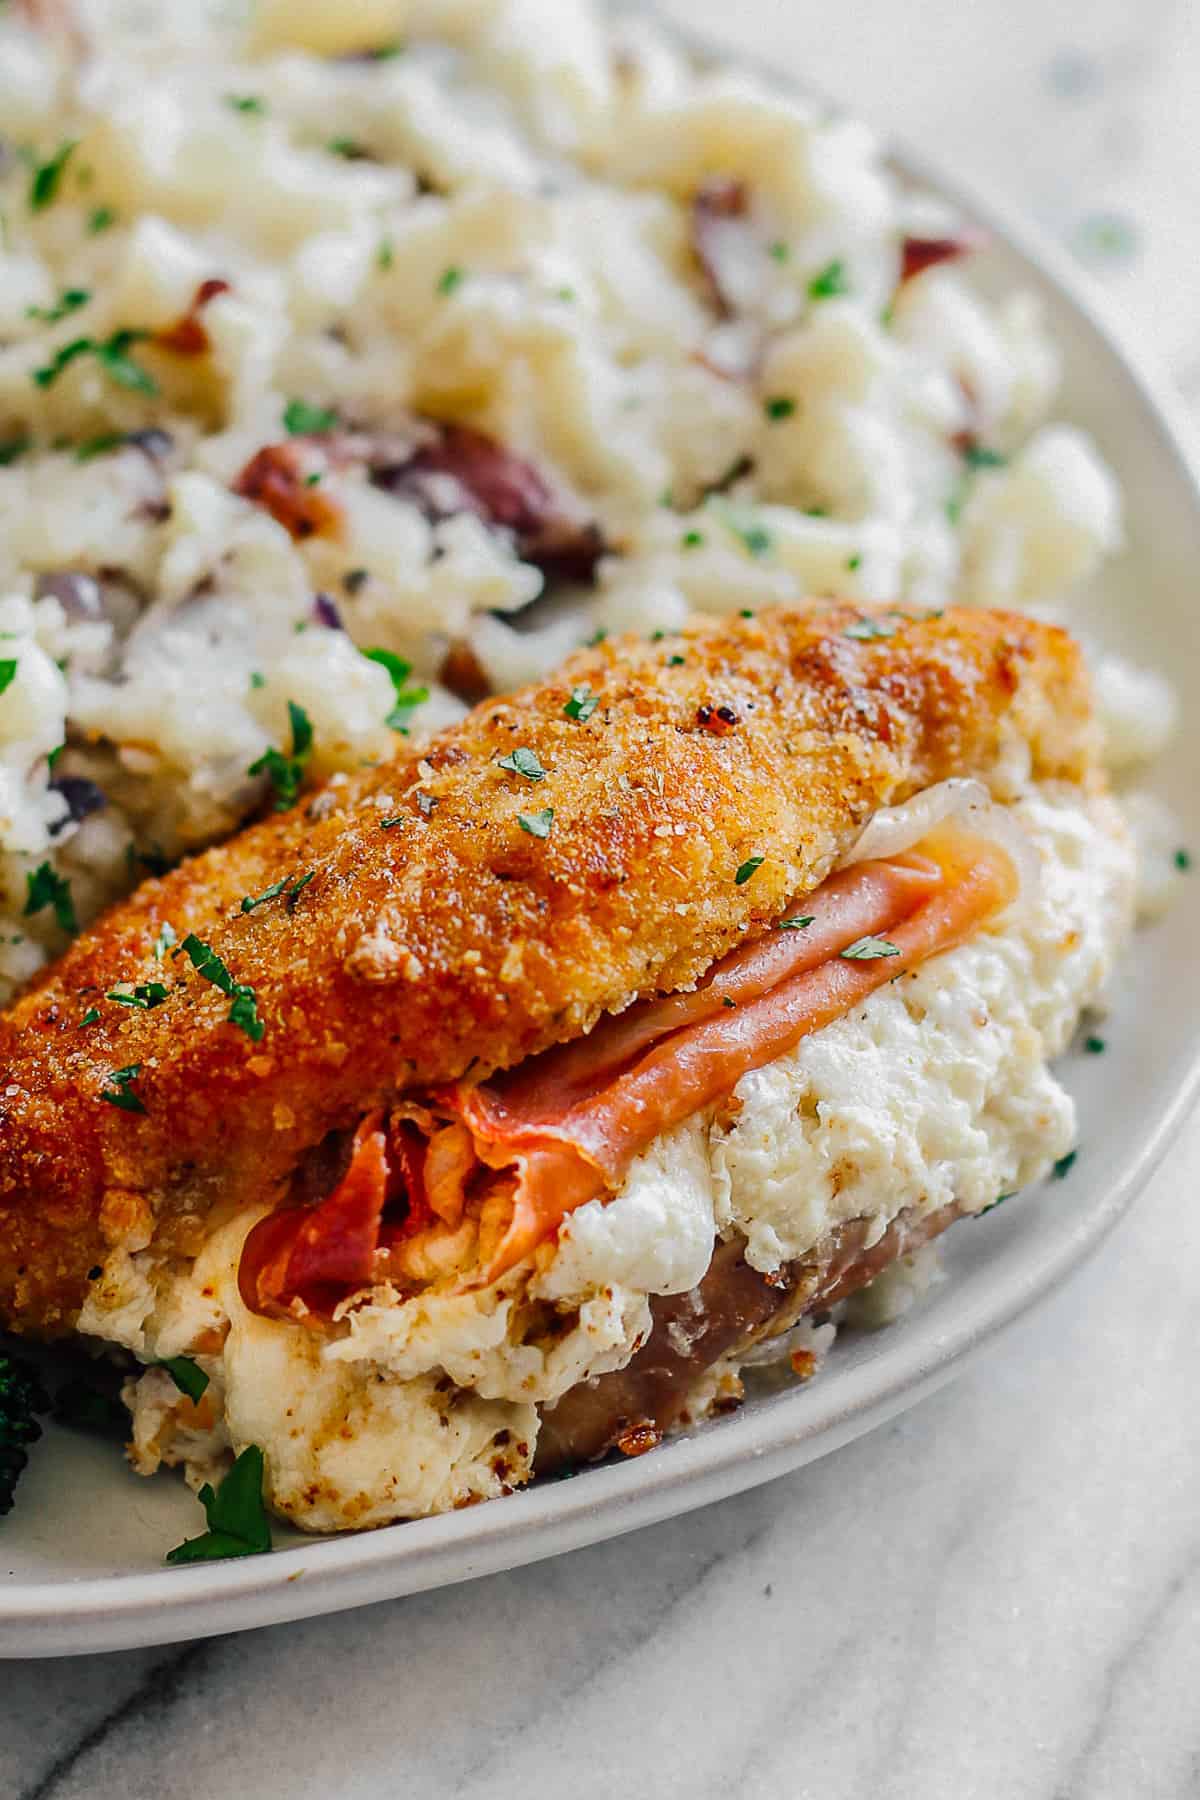
Bake the Chicken: Place the breaded chicken breasts in the prepared baking dish, seam side down. Bake chicken Kiev, uncovered, in a 425°F oven for 35-40 minutes; or until chicken reaches an internal temperature of 165°F. Remove and discard the toothpicks, and let the chicken rest for 5-10 minutes before serving.
Serve: I love serving chicken Kiev with mashed potatoes, steamed broccoli, or something simple to help soak up the herb butter.

How to Store, Freeze, and Reheat
- Fridge: Store leftover chicken Kiev in an airtight container in the refrigerator for up to 3 days.
- Freezer: Place in an airtight container in the freezer for up to 2 months. Allow rolls to thaw in the refrigerator overnight before reheating.
- Reheat: Place it in a covered baking dish in the oven at 350°F, until the internal temperature reaches 165°F.
- Make Ahead: Assemble the chicken rolls (without breading them) and store in an airtight container in the freezer for up to 2 months. Allow rolls to thaw in the refrigerator overnight before breading and baking.


Leave a Reply